Last weekend, while on vacation, I received two custom cupcake orders and I'm sharing the first one with you today. I have to tell you...this was probably the most fun I've had making cupcakes so far! I've already shared with you the Mad Hatter
Wedding Cake I made for my sister last year and that experience made these cupcakes pretty easy. I already had the how-to figured out for the decorations so this was familiar territory. The customer wanted 4 dozen cupackes in a variety of flavors:
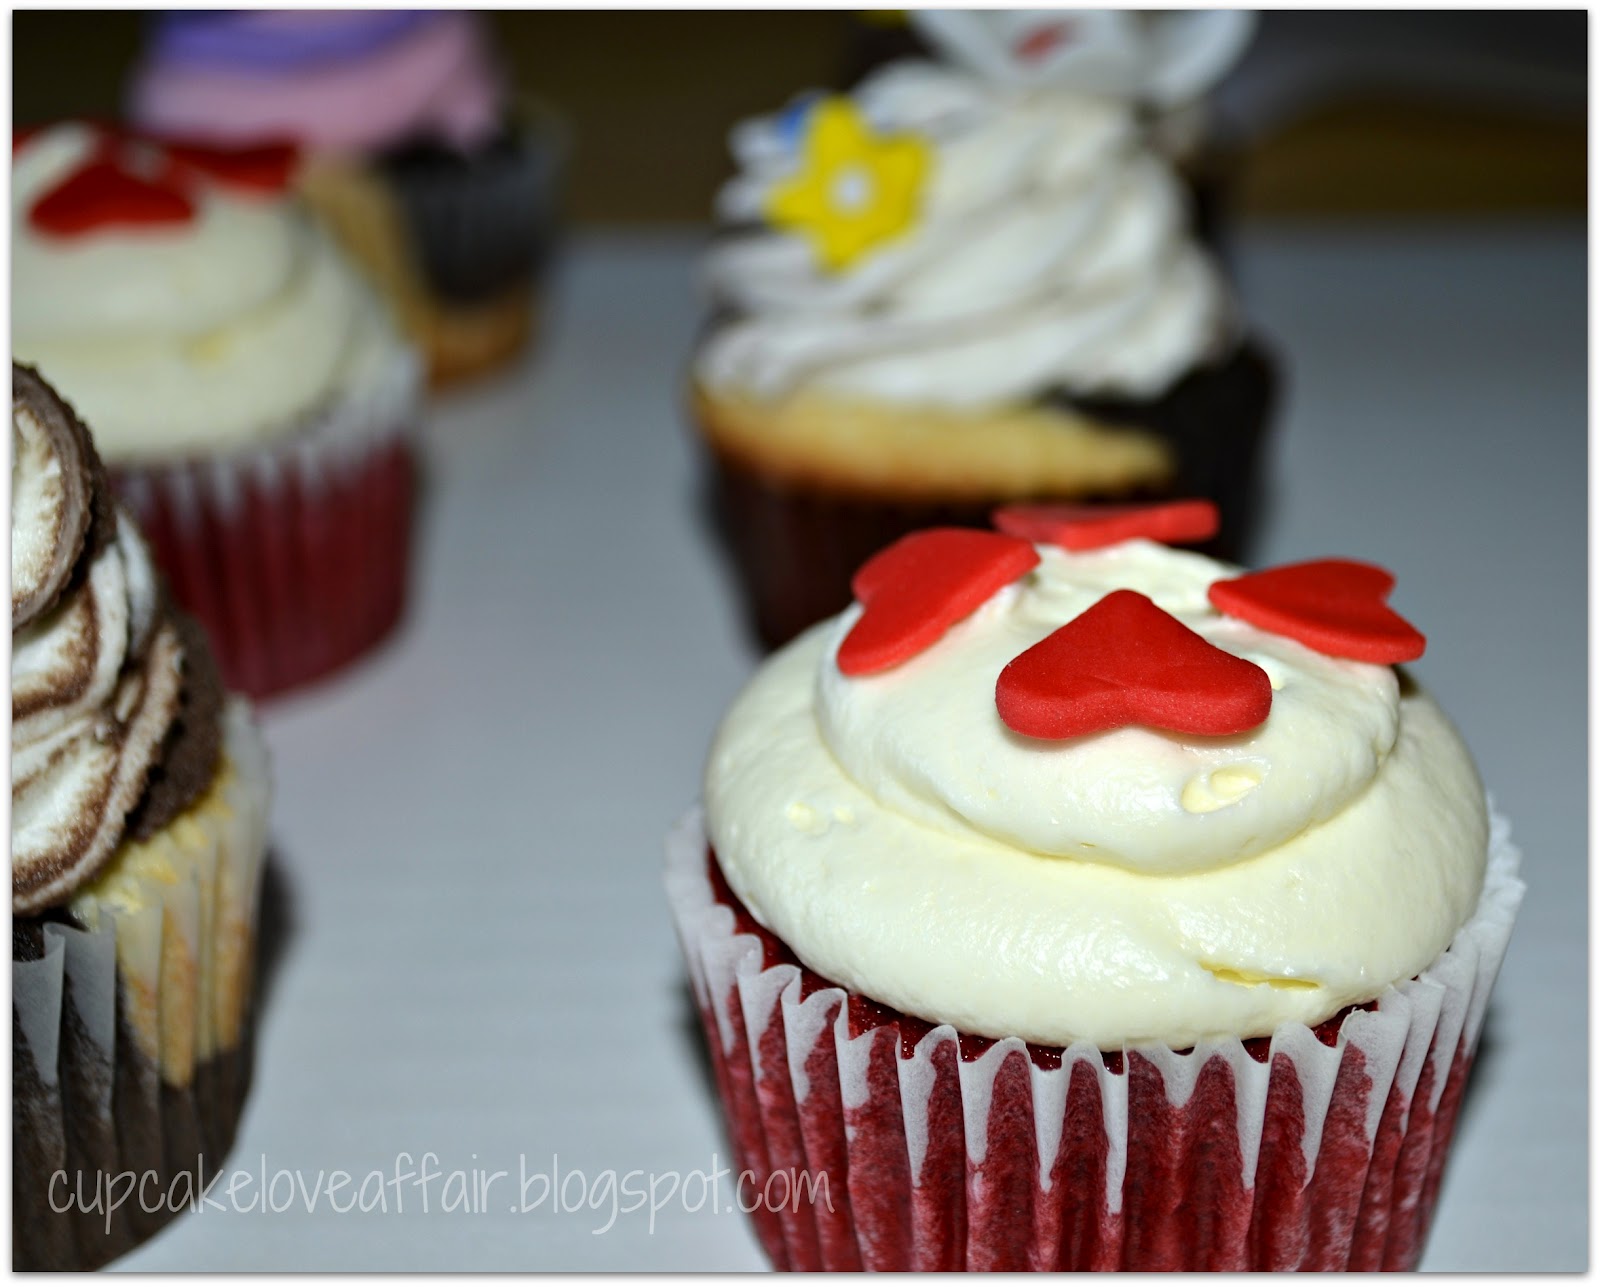
red velvet (for the Queen of Hearts - how appropriate!),
dark chocolate,
vanilla, and
marble. The icings were cream cheese, chocolate buttercream, vanilla buttercream, and a swirl of chocolate and vanilla buttercreams for the marble cupcakes. Most of these recipes are familiar to you by now but you'll find the new ones posted below. For the decorations, I used fondant and gel food coloring, and hand molded or cut out the desired shapes. Here they are....
 |
| A Cupcake Wonderland |
 |
| Cupcakes for a tea party |
 |
| Cupcakes fit for the Queen of Hearts |
 |
| The Mad Hatter's Cupcake - my favorite! |
 |
| A Caterpillar's treat....I love these mushrooms! |
 |
| Of course, it's not Wonderland without that grinning Cheshire Cat :) The grins were made by piping black royal icing onto parchment paper, letting it harden, then filling in the "teeth" with thinned white royal icing. |
 |
| Another cupcake for a tea party |
I hope you love them as much as I do! The customer was very pleased and said that everyone at the party was raving over them so that made my day!! Here are the new recipes:
Cream Cheese Icing:
3 8oz pckgs cream cheese
1 lb unsalted butter
1 lb (approx. 4 cups) confectioner's sugar
1 t vanilla
Cream butter and cream cheese until light and there are no remaining lumps. Add vanilla and combine. Mix in sugar, one cup at a time, whipping well after each addition. Once all sugar has been incorporated, mix icing until smooth and creamy. Refrigerate when not in use.
Chocolate Buttercream: (adapted from
here)
1/2 cup shortening
1 stick unsalted butter
3/4 cup dark cocoa
1 t vanilla
1 lb (approx. 4 cups) confectioner's sugar
3-4 T milk
In large bowl, cream shortening and butter with electric mixer. Add cocoa and vanilla. Gradually add sugar, one cup at a time, beating well on medium speed. Scrape sides and bottom of bowl often. When all sugar has been mixed in, icing will appear dry. Add milk and beat at medium speed until light and fluffy. Keep bowl covered with a damp cloth until ready to use. For best results, keep icing bowl in refrigerator when not in use. Refrigerated in an airtight container, this icing can be stored 2 weeks. Rewhip before using.
For the vanilla buttercream, follow the above recipe, omitting the cocoa, and only use 2 T milk.
For the chocolate-vanilla swirl icing on the marble cupcakes, just fill 1/2 (vertical) of your piping bag with chocolate and the other with vanilla. The two will swirl together as the come out of the tip. For an even cleaner swirling result, go
here. This was my first time using the swirl technique. Next time I'll try the way that is shown on the link. It looks really clean and beautiful!
Marble Cupcakes:
1 1/2 cups flour
1/2 t baking powder
1/4 t baking soda
1/4 t salt
3/4 cup butter
1 1/4 cups sugar
2 eggs
1 t vanilla
1/2 cup sour cream
1/4 cup cocoa
Combine first four ingredients and set aside. Cream butter and sugar in mixing bowl until light and fluffy. Then add eggs to creamed mixture, one at a time, mixing well after each addition. Add vanilla and mix to combine. Add sour cream alternately with dry ingredient mixture, then divide batter equally into two bowls. Add cocoa to one bowl and mix til combined. Drop into cupcake liners one tablespoonful at a time, alternating between vanilla and chocolate, until 2/3 full.
 |
| Here's what they look like when they're baked. |
Later this week I'll share the Star Wars cupcakes with you plus a special post on our newest family member, Jax! Let's just say...we LOVE him!
 |
| Me and Jax at Petco, waiting to sign the adoption papers and take him home! :) Don't you just love that face?? |
Don't forget to visit my previous post and enter the giveaway for a Cupcake Love Prize Pack, ending in 5 days! As always, happy reading and, more importantly, happy cupcake-ing!
Linking up here every week: SumosSweetStuff, FlourMeWithLove, ToastieStudio, SerendipityAndSpice, LadybugBlessings, MyFavoriteFinds, CrazyForCrust, I'mTopsyTurvy, ACreativePrincess, MrsFox'sSweets, GingersnapCrafts, PincushionCreations, 733Blog, BearRabbitBear, LiveLaughRowe, TwinkleInTheEye, Michelle'sTastyCreationsAndCraftyIdeas, SomewhatSimple, TheREALHousewivesOfRiverton, SevenAlive, ThesePeasTasteFunny, GoingsOnInTexas, OneArtsyMama, Happy Go Lucky, TwoSasters, PetalsToPicots, LadybirdLn, KitchenFunWithMyThreeSons, WhipperBerry, TheGrantLife, BubblyNatureCreations, TatertosAndJello, WhileHeWasNapping, SixSistersStuff, SkipToMyLou